Pods and headlights
If you are sure that the light switch, relays and fuses are OK then you’ll need to look at the pods and motors.
The headlight pods use a small motor mounted underneath the pods. From information on the www.Lotusexcel.net forum it appears that early car use a Triumph TR7 motor and later cars use a motor used on various Japanese cars of the same era but sometimes with different mounting holes.
If your pods don’t move or blow the fuse then the remove the sealed beam unit and disconnect the rod that links the motor to the pod. The pod should move very easily.
Even if the pod moves easily it is also worth checking, with the link rod removed, that the motors work.
If the pods are stuck down then you can raise them manually.
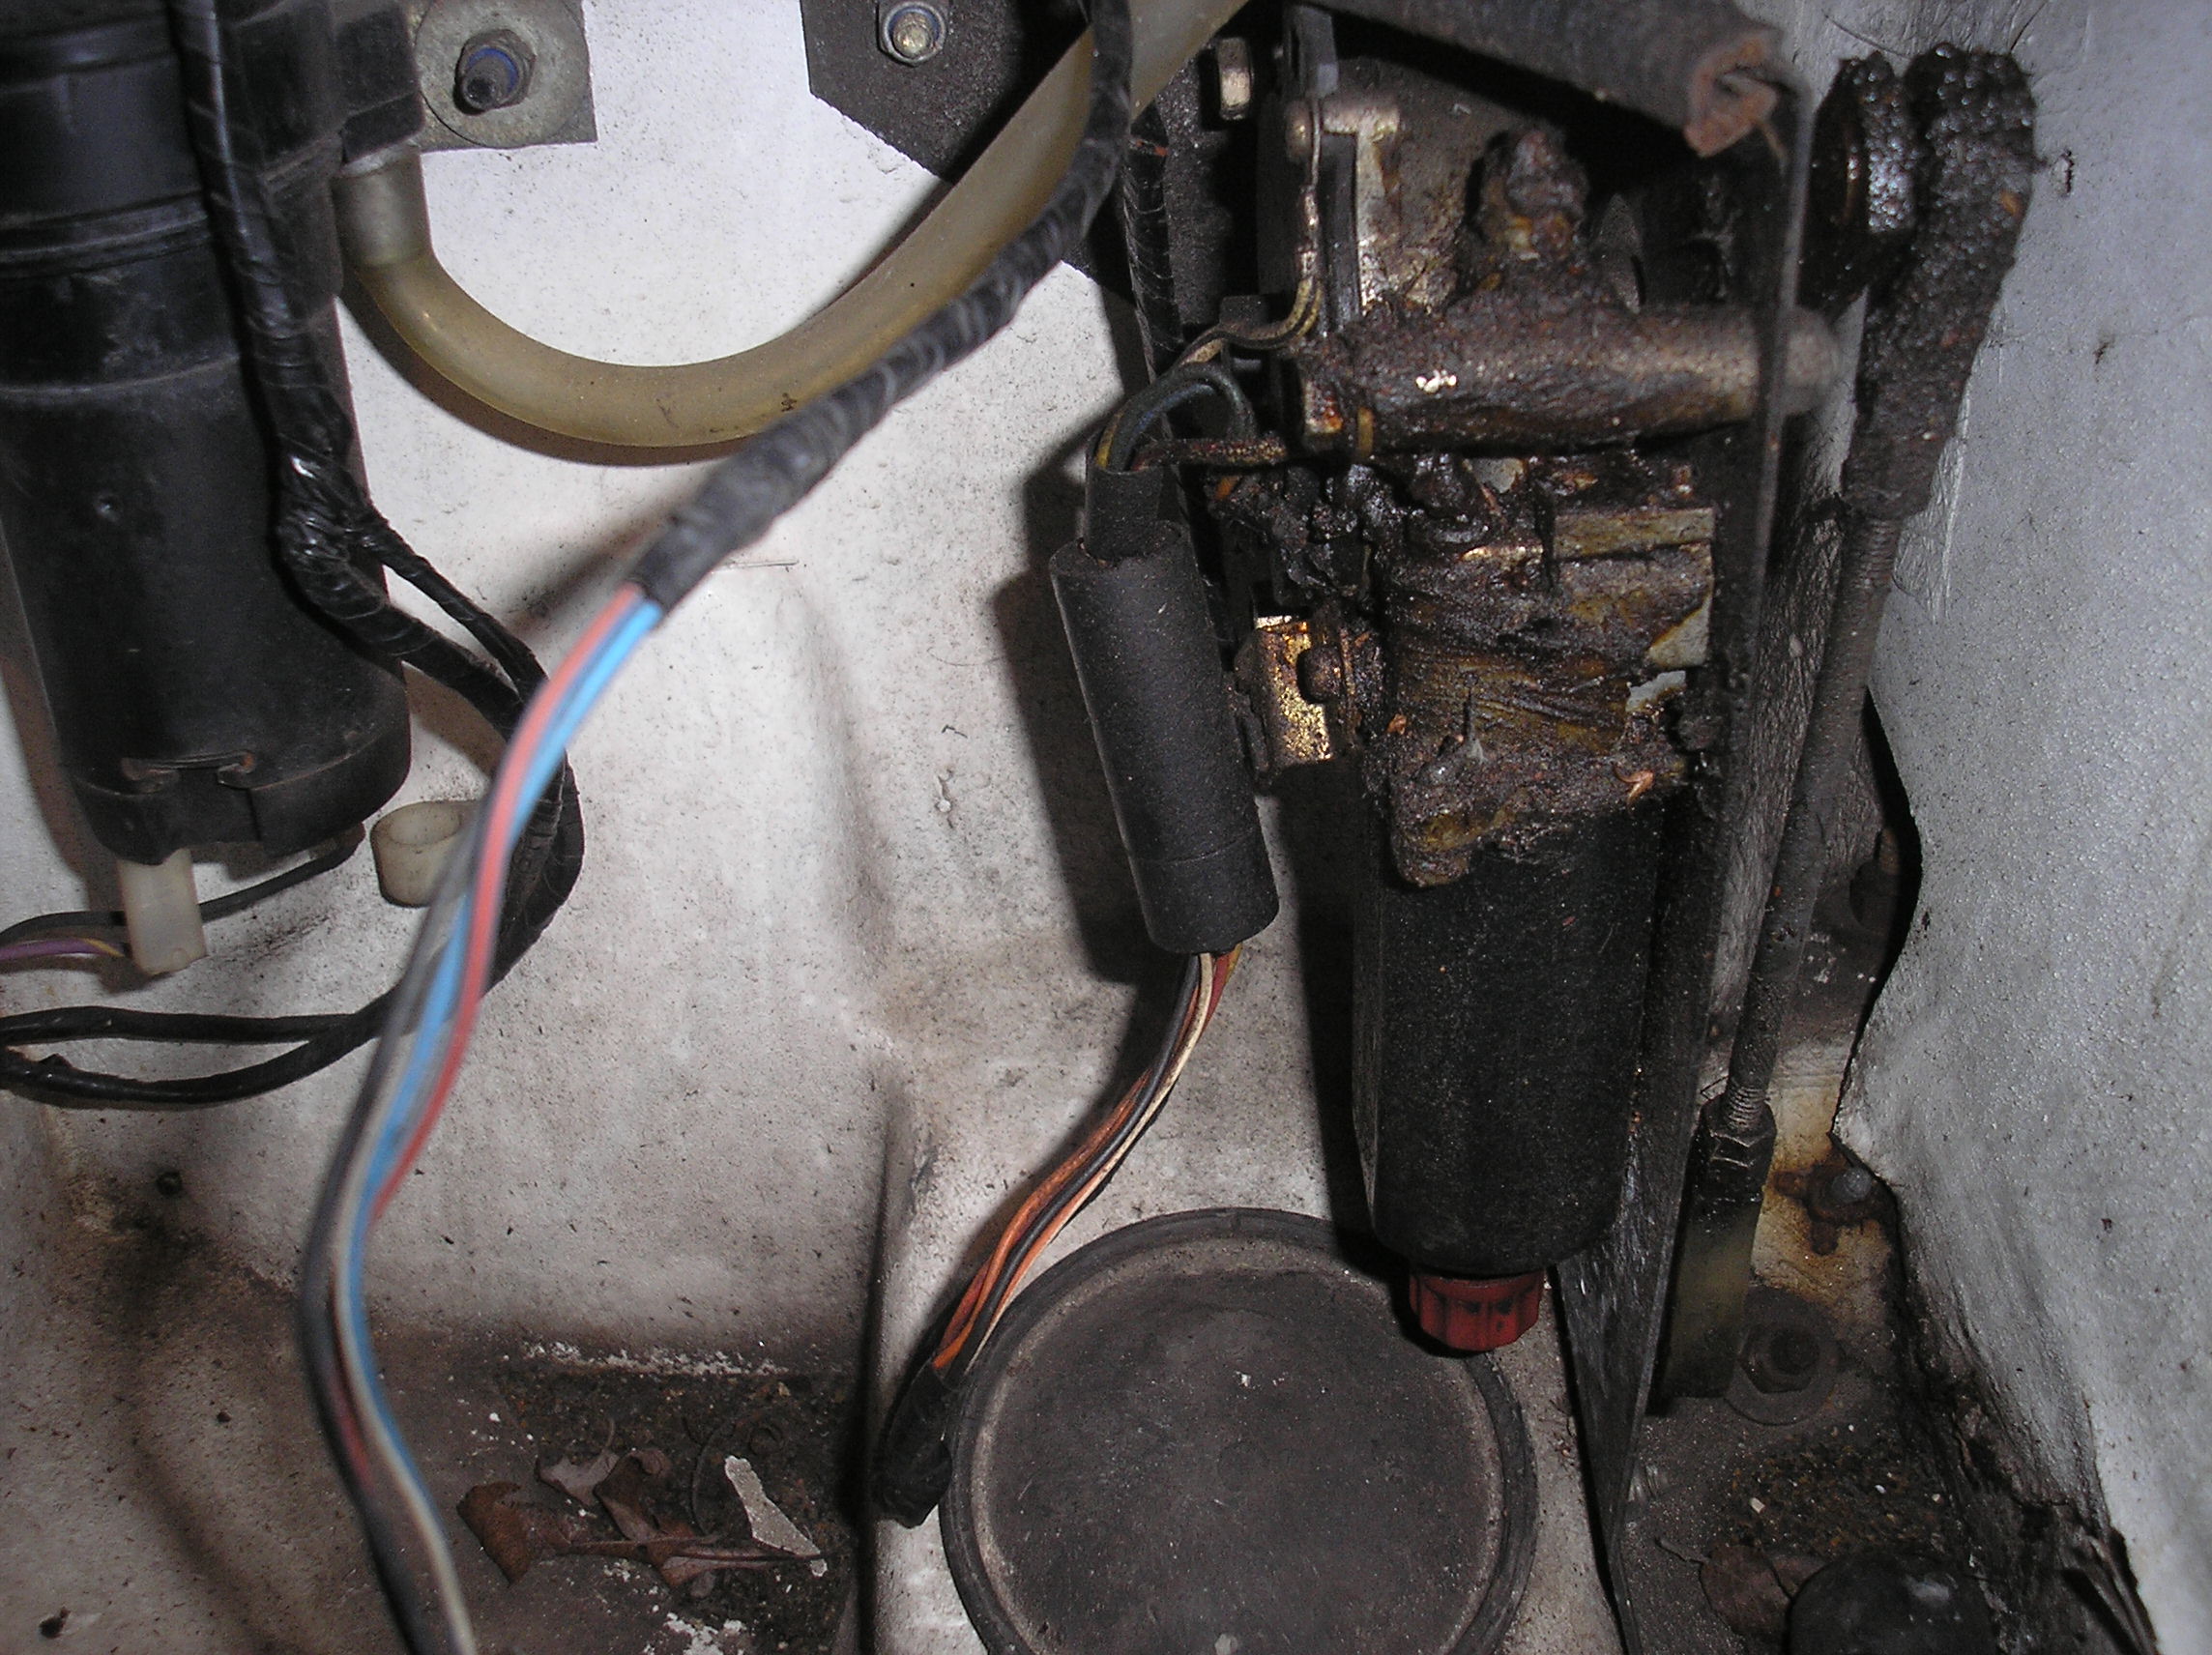
Just behind the fog lamps underneath the car is a large rubber grommet, remove this and put your hand up into the recess and you will find a small knob on the bottom of the motor.
Bottom right of picture of inside of pod housing showing rubber grommet and (red) manual winding knob.If the motor is seized and you can’t turn it with the knob you will have to remove one end of the link rod – not easy but it’s the only option.
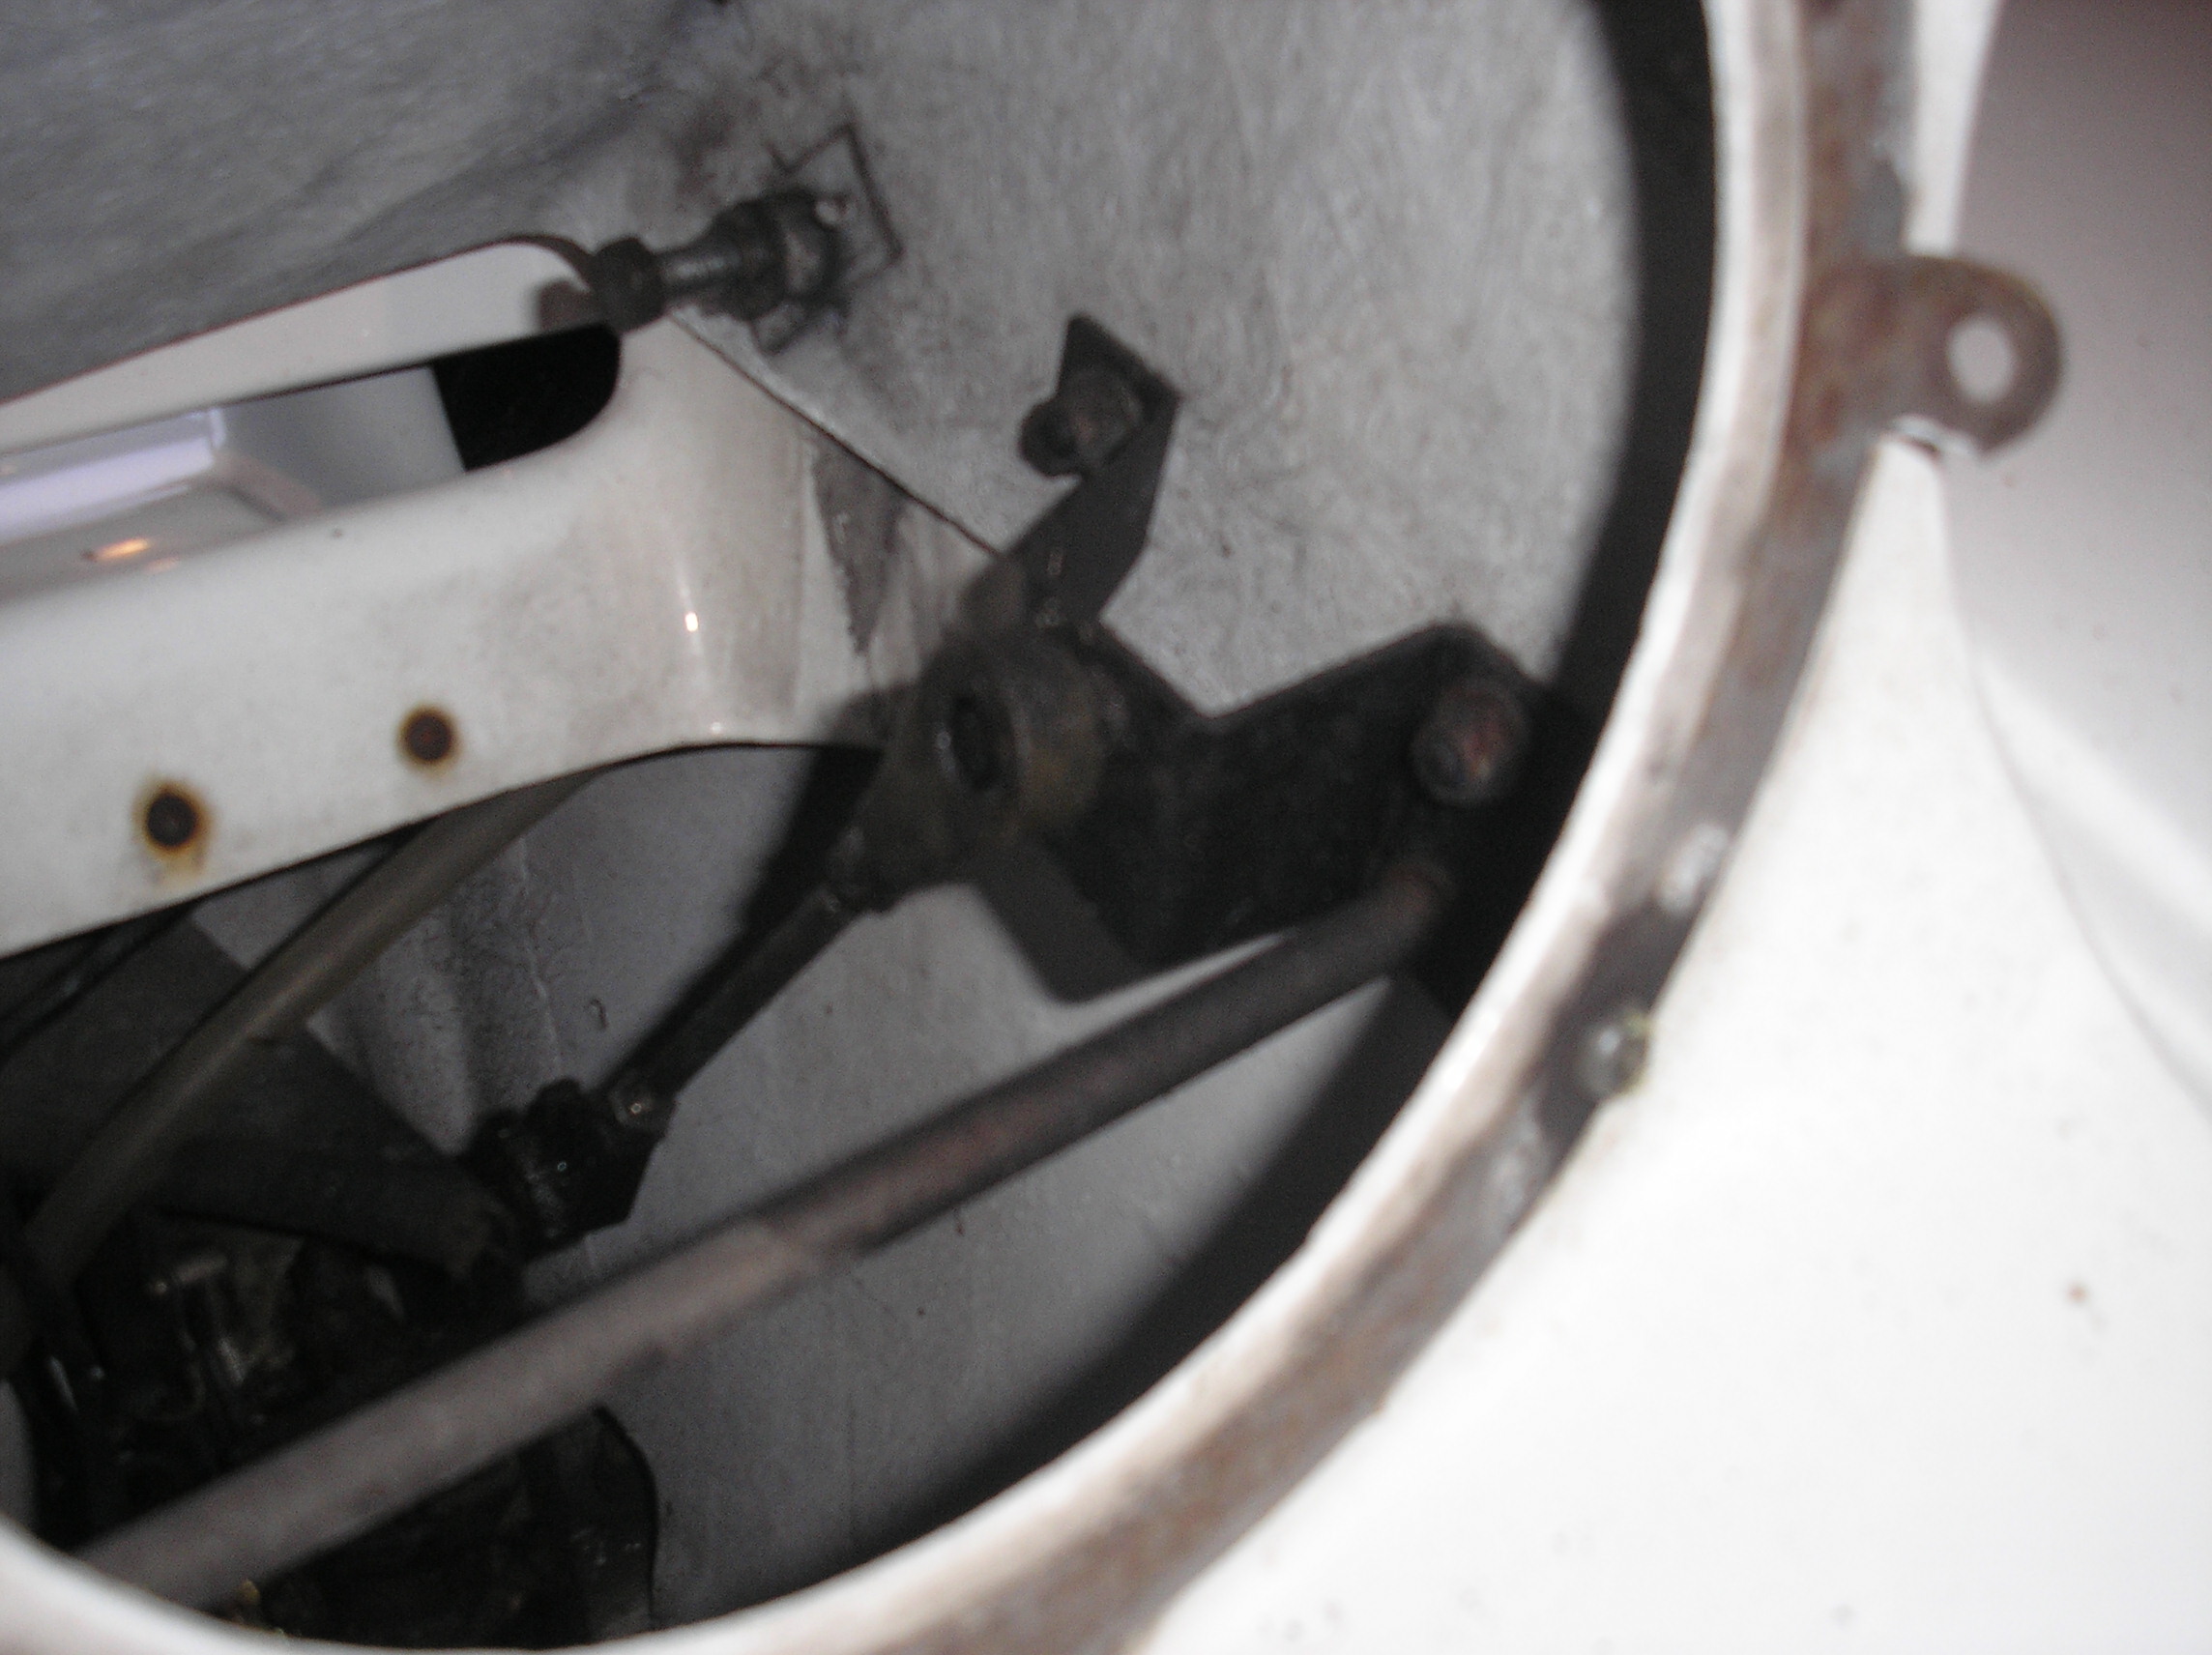
Above picture shows the 'inside' view.
The motors are controlled by relays and fuses located in the recess in front of the passenger door behind the carpet trim. Note: Different model year cars have different configurations of relays and fuses ( and possibly location - one of the joys of hand built cars!) – check parts and service manual for exact details for your car.
Sealed beam, pod and motor removal etc.
Remove the black plastic ring around the sealed beam it is held in by two push in plastic 'clips' just carefully lever them out.
The sealed beam is held onto the pod with three pop in/out adjusters carefully lever them out – remember to hold the sealed beam when you release the last one! Pull off the wiring plug and put sealed beam in a safe place.
The pods are held on by two bolts that also act as the pivots. On my car they were 8mm bolts (13mm spanner) but I have heard of allen bolts being used. See pictureabove.
Undo these, disconnect link rod (lever off with a screw driver) and lift pod away.
If the bolts are stiff or won’t move then I would suggest a good coating of WD40 or similar and leave overnight.
If they still won’t undo then you will have to cut the bolts. If you try to hard to undo them you run the risk of tearing out the ‘nut’ in the bodywork.
Disconnect wiring – you can just see the split point in the picture - and remove the link rod.
Pull of the red knob (it's just a push fit) at the bottom of the motor and undo the two screws that hold the motor body (the large black part with what looks like an upside down letter 'R' in picture) to the gear wheel housing.

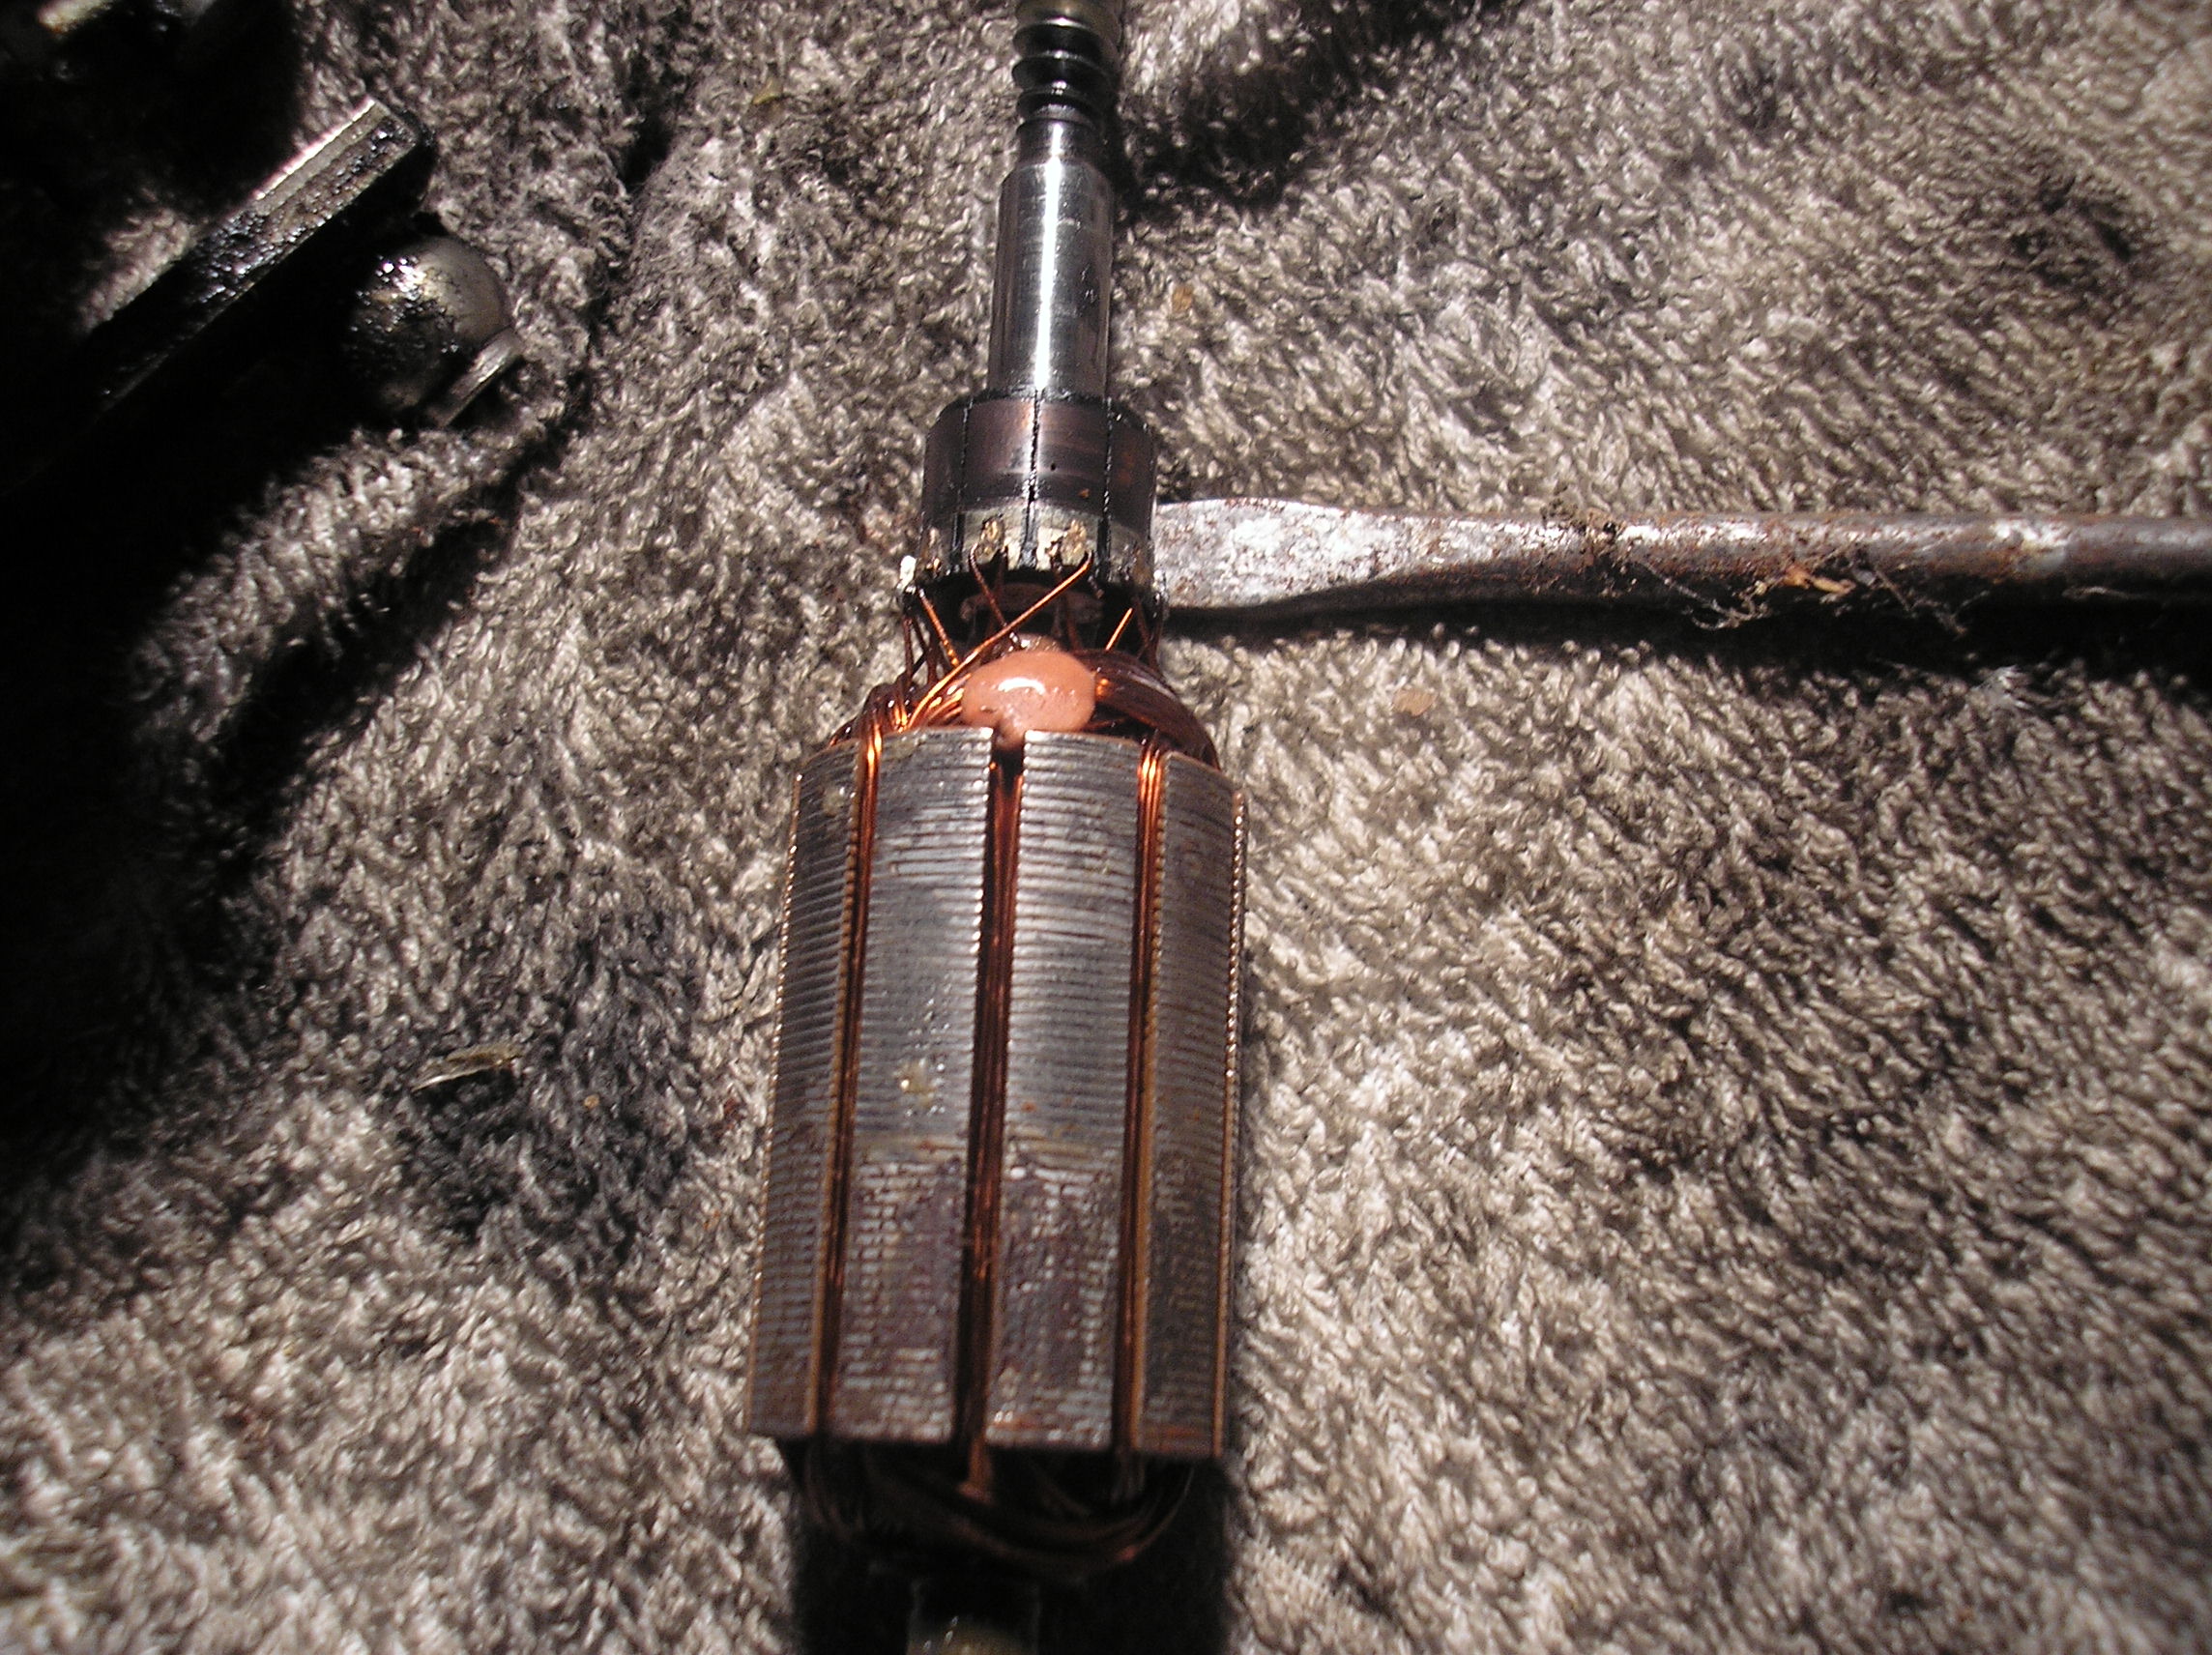
Motor.
Pull the motor body off,
try to stop the armature from
coming away by pushing on the spindle - the bit that you took the red
knob
from. If you don’t manage to stop the armature from coming
with the motor body
then watch out for the brush spring flying off. They are tiny and will
be
difficult to find if they ‘ping’ off across the
garage!
If the armature is still in place then very carefully remove it watching out for the brush springs.
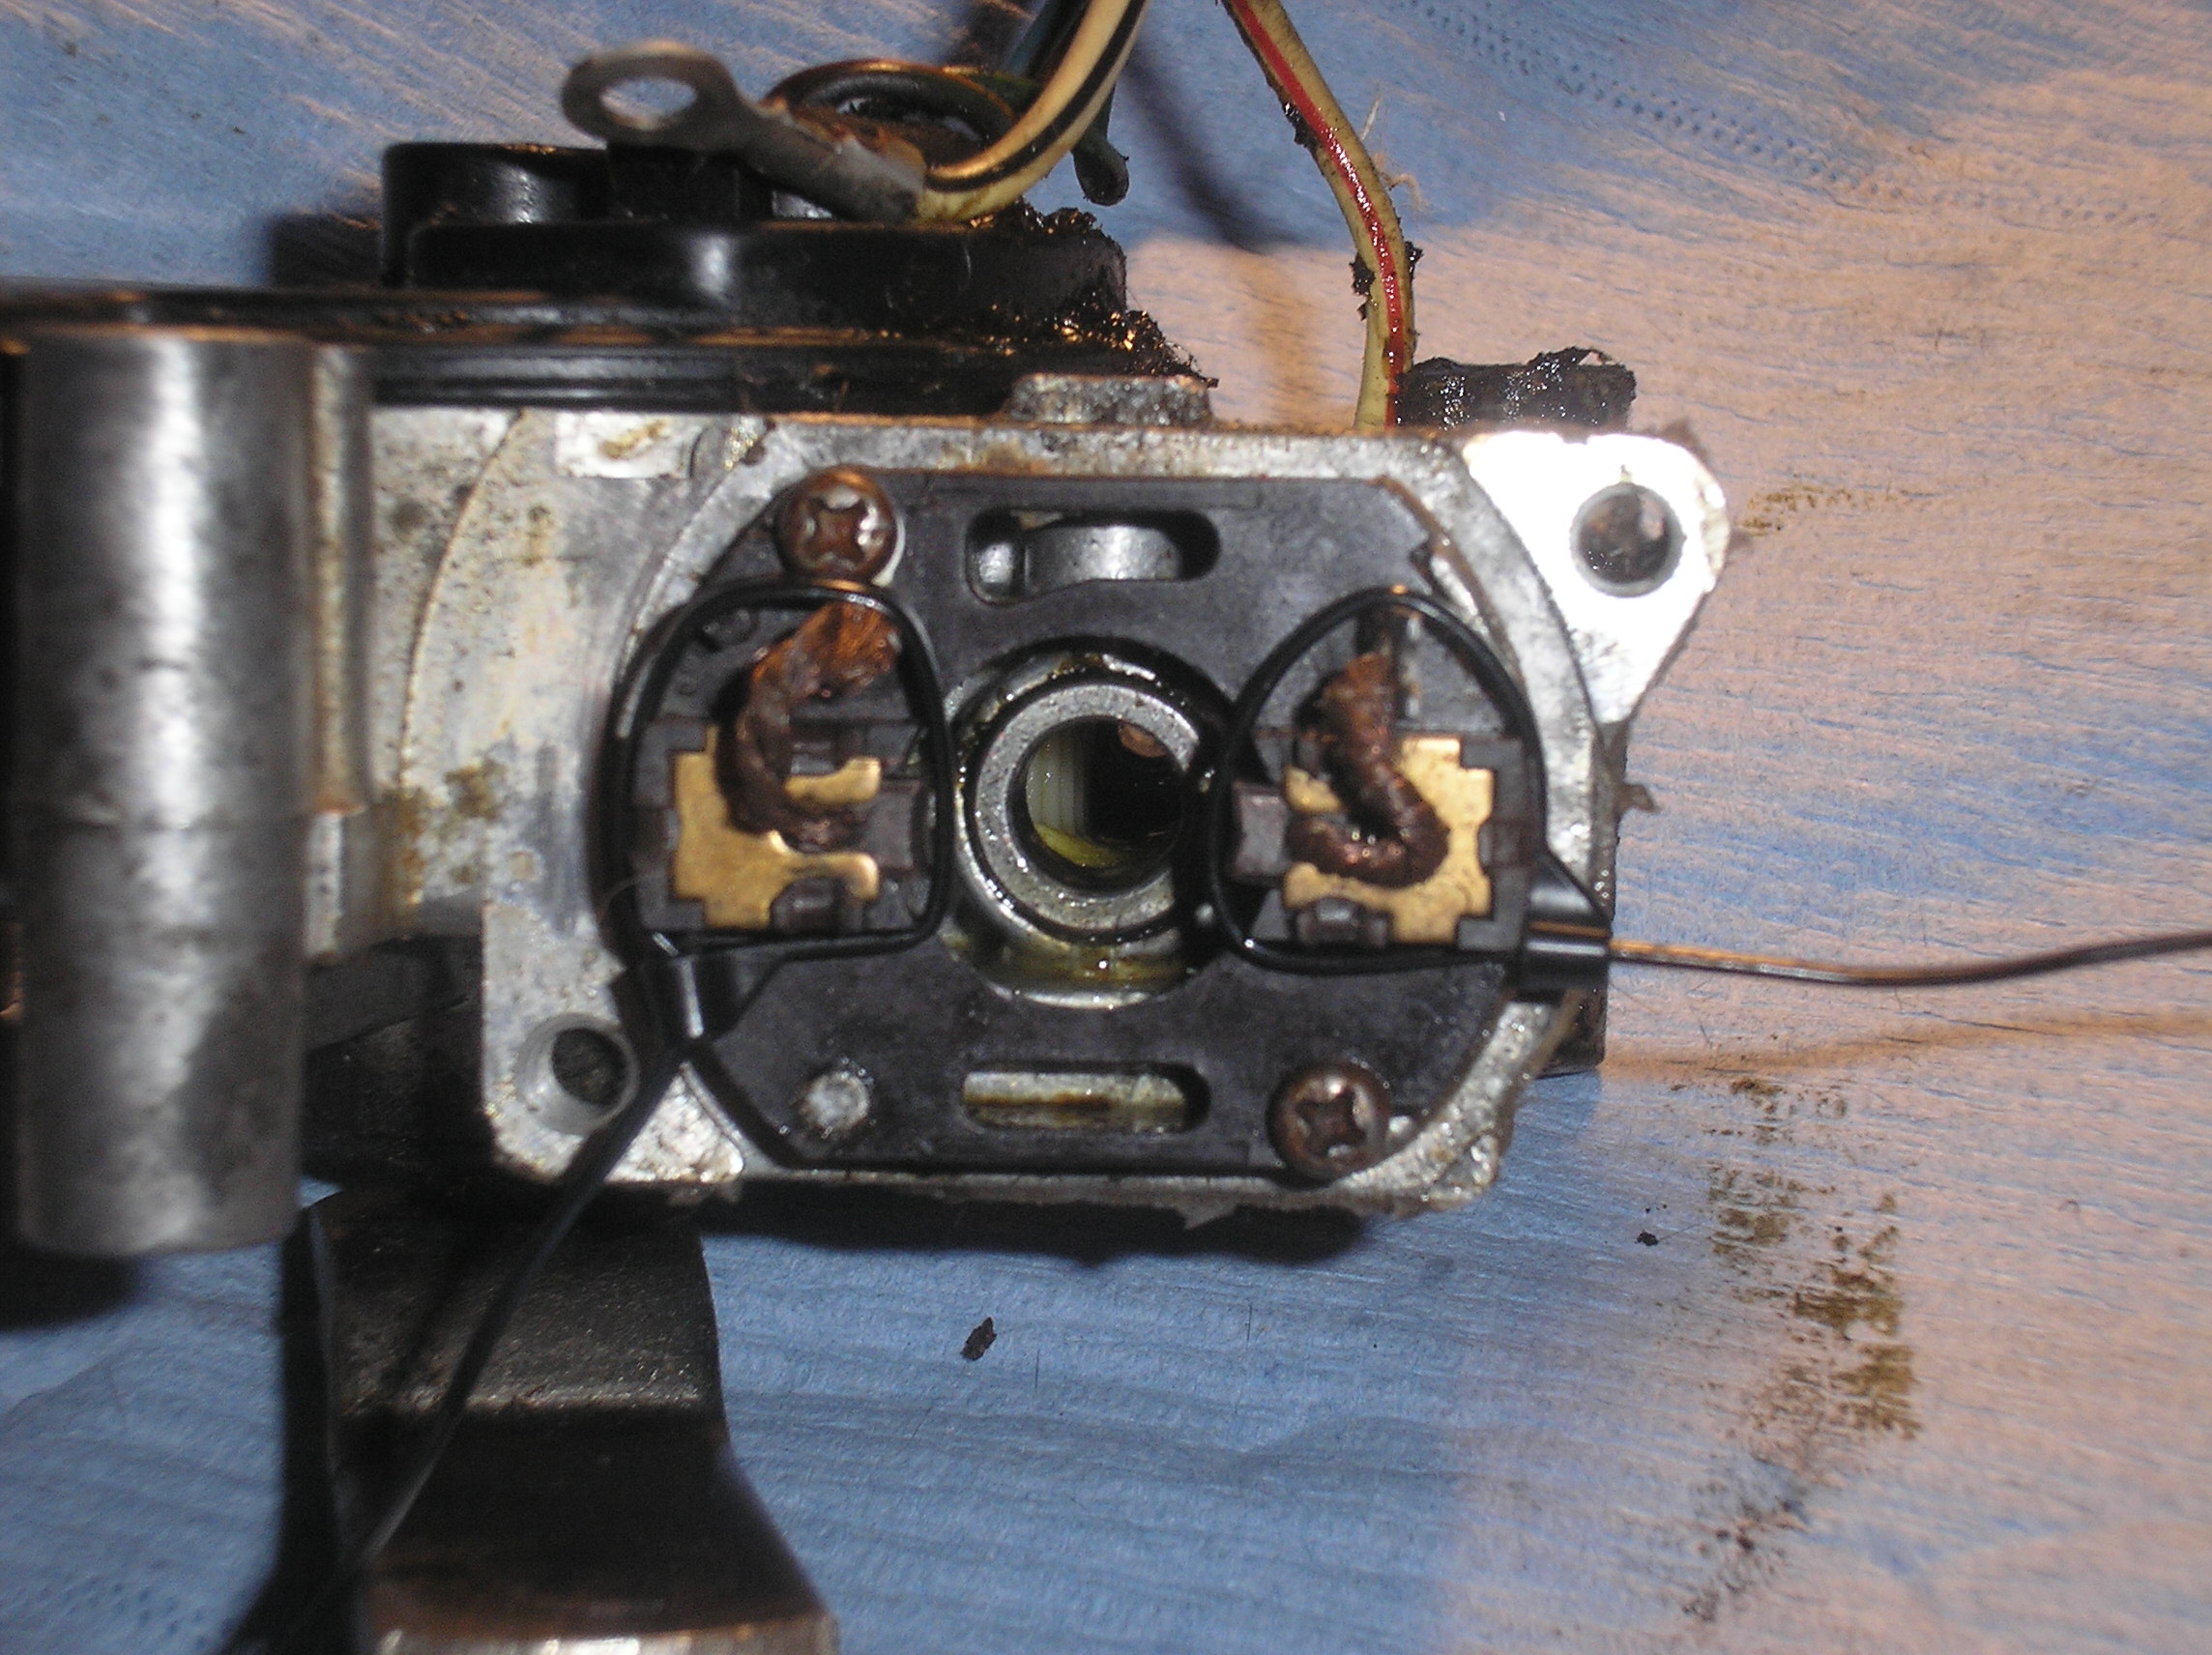
Remove the brush mounting plate.
Remove the gear wheel cover.

Clean everything!
The part the screwdriver is pointing at needs careful cleaning and handling as do brushes.

Armature Brush housing removed from gear housing
Underneath one of the brushes is a overload contact breaker, gently clean and make sure the points are making a good contact.
Re grease gearwheel assembly and make sure it turns freely.
Reassemble motor – it is difficult to get the armature in past the brushes.
My solution was to use two very small tyraps as shown – just cut and remove once the armature is in place.
Also make sure that the wires to the brushes are tucked neatly in place they must not make contact with anything.
When it is all back together check that the motor turns easily.
At this point it is best to connect the wiring up and check that the motor work before you re-fit to the car.
When re-fitting apply lots of grease to the pod mounting/pivot bolts, a small amount to the sealed beam mounting ‘balls’ and obviously clean and re grease the link rod ends.
If you have any commets or suggestions to improve this information please email me:
steve at benani dot com
The
above is my own work but I am indebted to
various people from the excellent www.Lotusexcel.net
forum with help and advice on this and all
other things Lotus Excel related.